
Are you thinking about replacing your existing door trim? Or maybe you are building a new house. Either way, you need to put trim or casing around your doors. Matching that with baseboards can often be tricky. You can’t get anything too thick or thin, because then it would look strange. How are you going to match your casing without spending a lot of time comparing different pieces?
Can you use baseboards as door trim? Yes, you can use baseboards as door trim. However, it can look visually unappealing to some due to the thickness of regular door trim versus, baseboard trim. The door trim is also designed to draw interest towards the door, whereas baseboards don’t do that.
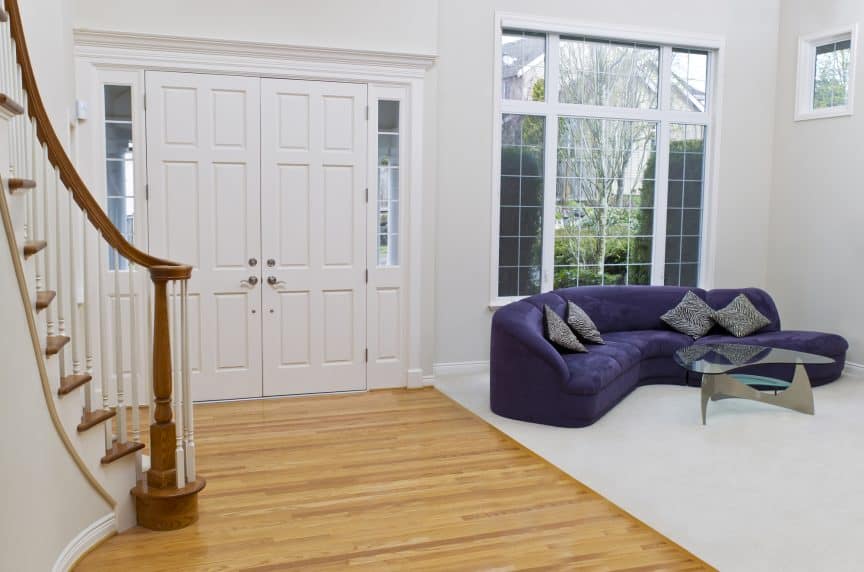
Both baseboards and door trim have similar installation methods, mainly because the same product can be used for both. Casing, or molding (the same thing, can be called different names depending on their current use), is usually ⅝ by 2 ¼ inches, can either be placed on a door frame, or on the floor as baseboards.
How to Install Door Trim
When installing door trim, you only need a few materials. And thankfully, if you also need to install baseboards, you also need these same materials, so you don’t have to do much to switch to a new task. If you have enough leftover baseboard and it suits the look you want – go for it. Otherwise, we’ll help you choose a trim a little later on.
- Miter saw
- Pin nailer
- 1 ¼ inch pin nails
- Safety goggles
- Tape measure
- ½ inch scrap woodblock
Before starting the process of fixing your door trim, it’s always good to note that safety goggles are considered necessary. Anytime you are using power tools, you have a risk of injury, safety goggles can help protect your eyes in case of an accident. Always wearing the proper PPE is simply the smartest way to do anything with power tools.
Choosing a Thickness and Edge that Fits Your Style
When you start to plan your DIY project of installing door casing, you need to figure out what style you are looking for. There are a large number of options for door trim, and if you are using baseboards as trim, then you won’t have a ton of choices.
Basically, the biggest decision you need to make when thinking about style is thickness. It dictates a lot about the look you’ll end up with.
Most people use the tapered trim. This allows for less bulk around the door and a thicker edge to match the baseboards. Do you want a fancier looking doorway or just a normal plain doorway? You have two main options when it comes to the edges or corners of your trim:
- Mitered casing is a trim style that just allows for two even right angles to match at the top of the door frame. Nothing extra.
- Butted Casing is a larger, thicker style trim for your door. This only gets thicker on the top piece to accent the top of the door frame.
The Material of Your Trim Matters
Now, style matters, but materials matter far more. You want to make sure that whatever material you buy will hold up to how you plan to design it. Whether you want to stain it or paint it, certain materials are better for each option.
- Paint-grade wood trim – This is the most common type of wood trim. Most of the time, this comes already primed and ready for paint, so you can choose whatever color you want. The joints on this trim are very visible and can be hidden when paint but will be seen if you only plan to stain the wood.
- Hardwood Trim – This is more expensive than paint-grade. However, this is what you want to use for areas that have a lot of moisture. This trim will not warp, not even if you stain it. This trim will also not streak when stained or painted, and it has no visible joints that will interrupt the design when stained. You can also have custom ordered designs and sizes with this type of trim.
- Multi-density fiberboard trim or (MDF) – Made from sawdust and resin, most pieces and already primed and ready for paint. MDF swells and absorbs water very easily, so this should not be placed anywhere near a possible water source. You can order intricate custom designs with this since it is made with resin, but this can get very pricey.
Choosing the Trim for You
Choosing what material your trim is made from really matters when you are trying to figure out how to make it last the longest. While trim will go through your regular wear and tear on a daily basis, it’s always best to know what trim reacts to moisture more.
Moisture seems to be the biggest issue when referring to wood, or even just building things in general. You don’t want swollen or warped trim in only a few months after you install it.
The Installation Process
- Prepare your space by making sure everyone knows you are using power tools. This makes sure that everyone is super careful to avoid injury or causing you injury.
- If you are replacing casing on the door, you must remove the door casing, nails, and patch any cracks or holes in the drywall where you will be placing the door casing.
- Using the tape measure, measure from the top of the doorjamb to the floor. Subtract ¼ of an inch from your measurement.
- Cut left and right-hand miters on two pieces of the casing using the measurement at the short point of the miter. Now you have one for the left side of the door, and one for the right. A miter is a joint that you will make with the miter saw. It’s a 90-degree angle for the corners.
- Using a level to make sure they are perfectly straight, you need to nail the casing to the doorjamb. You can use the woodblock to stand the casing pieces on to allow for space at the bottom and to help keep them straight
- Using the pin nailer, start nailing the door casing to the nail spreading the nails 8 inches apart.
- Measure the length of the top of the doorjamb between the two pieces that are currently sticking up. Place a piece there just like you did with the side pieces.
- Remove the scrap wood blocks
You are done! Now you can insert baseboard pieces to fill in the gap at the bottom of the door casing.
Tips for Smoother Installation
- If possible, always put the door casing on first. It’s easier to make the baseboards fit into the doorjamb.
- Cut the baseboards and door casing square where they meet each other.
- Sand and round the edges as much as possible, where they meet each other to allow for a smooth transition look.
- If you have pre-finished casing or baseboards, it’s best to use a putty crayon to fill in the holes of the nails.
- If you have an unfinished casing, use wood putty and sand it down after it dries, then stain the wood.
- Always cut your pieces a little long first, you can always cut shorter if you need to, but you can’t fix casing you have cut too short.
Overall, you can absolutely use baseboards as door trim, and it may even make the project easier due to not making as many decisions about what will or won’t match. As long as you do your research, you should be able to have your trim replaced and finished in no time.
Just make sure you use the right size nails and the right stain or paint when putting the final touches on, so you have a project that doesn’t require a lot of touching-up over the years.
Share this Post
Giovanni Valle is a licensed architect and LEED-accredited professional and is certified by the National Council of Architectural Registration Boards (NCARB). He is the author and managing editor of various digital publications, including BuilderSpace, Your Own Architect, and Interiors Place.