
Affiliate Disclaimer: Some of the links below are affiliate links. As an Amazon Associate, I earn from qualifying purchases.
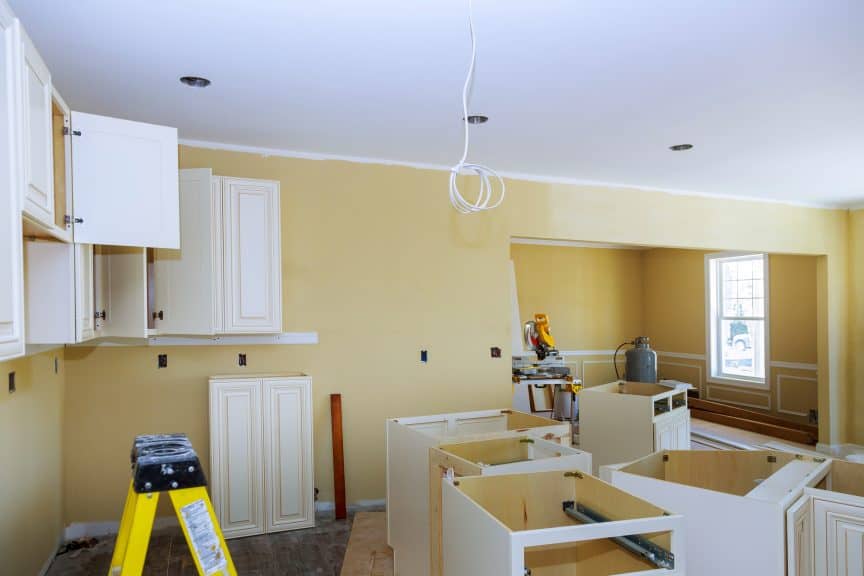
Improvements to your kitchen can generate significant returns on your home’s value. Installing new cabinets can make a massive difference in the look of your kitchen and save you a lot of money if you have the patience and know-how to do the work yourself. Even if you’re an experienced “DIY-er,” you may still have questions about what you should do first when installing cabinets.
You should paint cabinets before installing them because it can be challenging to reach and thoroughly coat them while they’re mounted. Painting them beforehand ensures a more precise and even paint job, and can also deter drips and splatters on your walls, floors, and countertops.
In this article, I’ll explain why you should paint your cabinets first, how to prepare them for an even paint job, and what you can do afterward to customize your cabinets further.
Why Should You Paint Before Installing Cabinets?
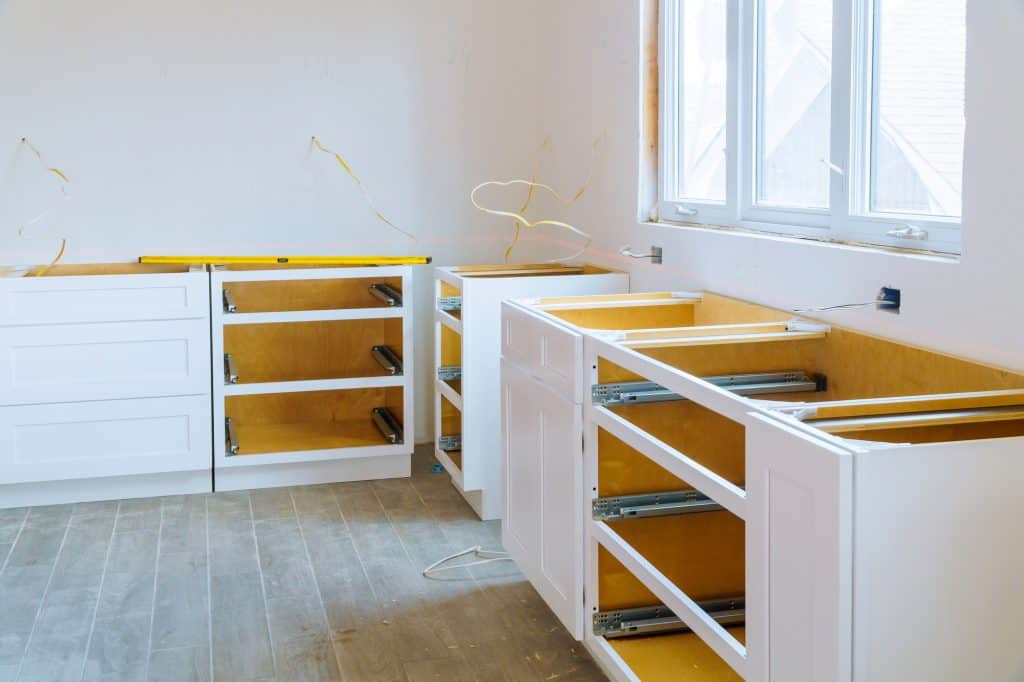
You should paint your cabinets before installing them because it will make the job much more manageable. You won’t have to worry about taping off your kitchen, and you will be able to access the cabinets from different angles.
Cabinets that are mounted on the wall limit your reach, and require you to do more stretching and climbing to successfully coat the entire surface area.
Painting your cabinets in a garage or outside means you don’t have to worry about protecting your countertops, walls, and backsplash from paint splatter. This is especially true if you plan on using a paint sprayer.
How Long Does It Take to Paint Cabinets? Painting cabinets can be a time-consuming task. However, it’s essential to take your time and make sure you follow the proper steps; otherwise, you may not be happy with the results.
Of course, there are many variables to consider, such as how many cabinets you have to paint and how long you can work on them at one time, but in general, painting cabinets should take 3-5 days.
How Should You Prepare to Paint Your Cabinets?
Before you take out your paintbrush, there’s quite a bit of prep work involved to get ready to paint your cabinets. After you get proper safety equipment and find a well-ventilated place to work, here are the steps you should follow to prepare for painting cabinets:
- Remove doors and hardware. If your cabinets are already assembled, you should first remove all of the knobs, hinges, and handles from the cabinets. You might also want to number the doors and drawers so you can put them back in the same spots. Otherwise, they may not line up perfectly.
- Sand surfaces. Next, you should sand your cabinets if they have any kind of finish on them. If the cabinets are bare wood with no coating or finish, they may still need light sanding so the paint will stick. Often, your cabinets will have a factory finish. I recommend the 3M 120-Grit Sandpaper because it’s easy to grip and is the right coarseness for the job.
- Clean thoroughly. Use a damp cloth or some gentle wipes to clean the cabinets inside and out. Check for grease left behind by the hardware as well as any dust or dirt. After the cabinets dry, wipe down with a tack cloth, like the Trimaco 10506 SuperTuff Tack Cloth, to remove any fine dust particles from sanding that you don’t want to be trapped under the paint.
- Prime. If your cabinets are laminate, you will need to use a special primer, like the Kilz Adhesion High-Bonding Primer. Check the label for drying time, but a good rule of thumb is at least 24 hours, especially if you live somewhere humid and moist.
- Buff. Use 220 grit sandpaper (or a sanding block – I like the 3M SandBlaster 9565 because you can get into all the corners and crevices) to lightly buff the doors and exterior surfaces. Note: Make sure that you wipe the cabinets down with your tack cloth again before moving on to painting.
How Do You Know Which Paints to Use?
Make sure that you select high-quality paint for your cabinets. Remember, people will frequently touch the doors with dirty hands that have grease and debris from cooking or eating. Your cabinets are also the most visible item in your kitchen, so you want to get it right.
Oil-Based Paints Look Good, but Are Messy – Many professionals opt for oil-based paints because they cure faster than latex paints. Oil-based topcoats may provide a more durable finish that prevents accidental damage, and some experts agree that you’ll get a nicer, smoother finish. However, oil-based paints are much less forgiving than latex, and clean-up will be a much bigger process.
Latex Paints Are Easier to Apply and More Durable – The quality of latex paints today is very good. Nine times out of 10, you’ll be using latex paint when you’re doing a home improvement project. It’s much more user-friendly than oil-based paint, and the 100% acrylic formula is more durable and has better adhesion than vinyl latex paint.
Unless you’ve got a lot of painting experience, 100% acrylic latex paint is your best bet.
Should You Paint With a Sprayer, Brush, or Roller?
Along with the various paints to choose from, there are also several application tools to consider for the easiest and most precise paint job.
When painting cabinets, you should opt for a paint sprayer because it won’t leave behind streaks or harsh paint lines, but will still give you an even paint job that looks great. Paint brushes and rollers can sometimes show texture in the final product, which can make your paint job look less appealing.
Paint Sprayers Offer the Best Coverage – This Flowlamp Paint Sprayer, available on Amazon.com, is easy to use and perfect for beginners. You can spray from any angle and it will provide a smooth, even finish to your cabinets.
A paint sprayer is the choice of professionals because it won’t leave brush or roller marks, and you’ll get even coverage.
Check out this video from Lowes on how to paint cabinets with a paint sprayer:
Brushes and Rollers Are Great for Precision – If you’re not comfortable using a sprayer, you can paint your cabinets with brushes and rollers. You’ll need both flat and angled brushes to get in all of the corners. The Wooster Shortcut has a small handle, so you can get in the back corners without accidentally bumping your wet paint.
For the larger, flat areas of your cabinets, a small roller works best. It will help you to avoid the streaks that a paintbrush may leave behind. Not to mention that it will get the job done much faster.
Should You Paint the Inside of Your Cabinets?
There’s no absolute right or wrong answer to this question, but based on feedback from professionals and DIY-ers, you don’t need to paint the inside of your cabinets.
Most finished cabinets are finished wood inside, regardless of the color on the outside. So, even if you paint the outside a different color, it will still look fine leaving the inside as-is.
The only exception might be if you plan to take some of the doors off or replace them with glass, then you may want a more cohesive look. However, even in this case, it’s not required that you paint the inside of the cabinets.
So, my official recommendation is to save yourself the trouble and skip this step. Focus on the outside where people will actually see the end result.
When Can You Mount Your Cabinets After Painting?
After you’ve painted your cabinets with two coats, make sure that you give the paint enough time to fully dry and cure before installing them. Refer to the instructions on your paint’s label, but typically 48 hours is a reasonable time frame to be safe.
Re-mount your hardware, hinges, and pulls (this is where those number labels really come in handy). Be careful when screwing them back in so you don’t accidentally split any wood.
Do a final check for any blemishes, missed spots, or damage. Now, you’re ready to install!
What Other Cabinet Customizations Can You Make?
While you’re painting and installing your new cabinets, you can make some other simple changes to upgrade your kitchen’s look further. Here are some easy and inexpensive ways to add new details:
- New handles: A really easy way to personalize the look of your cabinets is by changing the handles. The AmazonBasics Twisted Cabinet Handle comes in 4 different color finishes and are sold in a pack of 10.
- Fun knobs: For something a little more fun and whimsical, consider some knobs instead of handles. There are endless options and designs available, like the Reading in Rags Vintage Soda Cap Wood Cabinet Knobs.
- Get organized: Since you’ve already emptied out your cabinets to paint and install new ones, it’s a great time to re-organize your kitchen. For inside your cabinets, the Lynk Pull-Out Shelf is perfect for maximizing space and easy access. A countertop organizer like the Ollieroo Countertop Organizer will keep your space decluttered and organized.
Final Thoughts
DIY projects can be fun, rewarding, and a great way to make improvements to your home without breaking the bank. Replacing or painting your kitchen cabinets is the perfect way to make a significant update to your home.
It is recommended to paint your cabinets first before installing them, as doing so will enable you to give the cabinets a more thorough paint job, and prevent any paint from splattering onto your kitchen’s surfaces.
Sources
- HGTV: Laminate kitchen cabinets
- Cleveland Clinic: Home DIY Project? 6 tips to avoid dangerous fumes and substances
- Popular Mechanics: Painting tools showdown
Share this Post
Giovanni Valle is a licensed architect and LEED-accredited professional and is certified by the National Council of Architectural Registration Boards (NCARB). He is the author and managing editor of various digital publications, including BuilderSpace, Your Own Architect, and Interiors Place.