
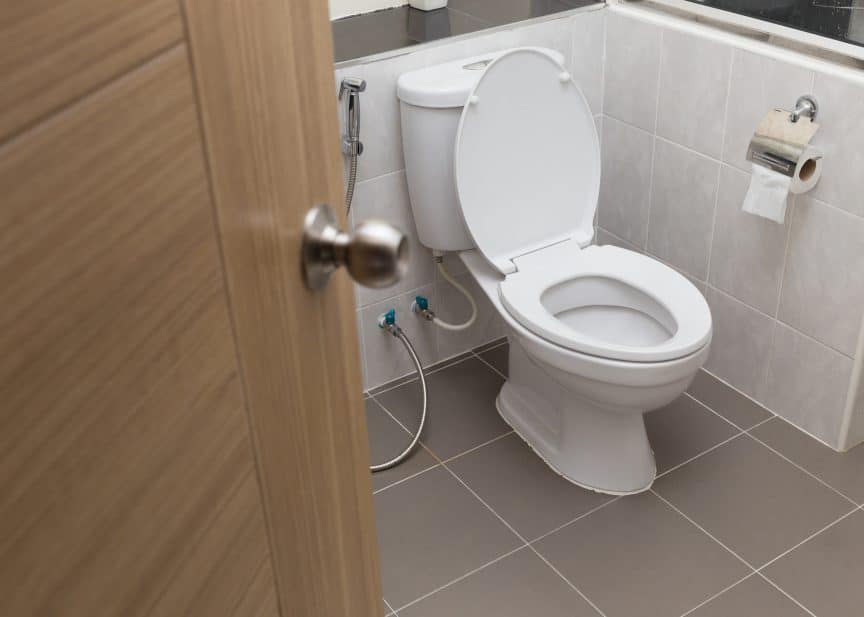
Whether you’re renovating a new home or fixing up a bathroom in your existing home, it’s entirely possible to tile around your toilet. You might want to save yourself the trouble of disconnecting the toilet, or it might be challenging for you to remove it.
There are effectively two ways to tile your bathroom without removing the toilet. The first way is to cut the tiles to fit around your toilet. This method requires some skill and patience to cut the tiles properly without cracking them. The second is to use peel-and-stick tiles, an easier alternative that I will cover in this article.
Keep reading to discover how to quickly revamp your bathroom without detaching the toilet. These tips will save you time and trouble. I’ll also suggest why removing the toilet may not be such a bad idea!
1. Cut Tiles To Fit Around Your Toilet
With a bit of patience and the proper techniques, you can easily cut tiles to fit around the base of your toilet.
Firstly, what kind of tile are you working with? There are 13 different types of bathroom flooring, and each has its pros and cons.
So, if this is your first time cutting tiles, remember that some tiles are more accessible to cut than others. Ceramic tiles are amongst the easiest, while porcelain is more challenging.
Use a Paper Template To Transfer the Shape Onto Your Tile
A paper template is necessary to cut your tile the right shape. This technique works for the toilet base and for other obstructions you want to tile around.
Here’s a YouTube video:
Follow these simple steps, and ensure you’re wearing safety gloves:
- Cut a piece of paper or thin cardboard the same size as the tile. Place it over your tile to make sure that it matches the dimensions.
- Cut slits (or a fringe) into your paper. They should be about ¼ inch (6.35 mm) wide. Make the slits a bit longer than the object you’re tiling around. Place the paper against the toilet to ensure the slits are long enough.
- Put your paper tile up against the toilet. Remember to calculate a gap for grout.
- Crease your paper slits against the toilet. Carefully push the paper and bend it, so it creases along the bottom of your object.
- Use a marker to draw a line along the shape of the toilet. Where the paper is bent to match the shape of the toilet, you can now draw over the crease with a bold line.
- Remove the paper and cut along the line you drew. You’ve now got yourself a paper template for your tile.
- Make sure the template fits properly into place. Place the paper next to the toilet and double-check that the shape and dimensions are correct.
- Tape the template onto your tile and transfer the line. Use a pencil to draw along the paper template’s line and transfer it onto the tile.
- Cut along the pencil line with a tile scribe. Tile scribes will make it easy to cut along the line.
- Use a tile nipper to chip away at the tile. Chip away at the tile, and when you reach close to the line, be careful and make more minor chips.
- Smooth the edge with sandpaper and a tile file. Then wipe any residue off the tile.
- Fit the tile against the bottom of the toilet. If you’re happy with it, add adhesive and pressure onto the tile to fix it in place.
You can also use a tile saw or a tungsten carbide rod to cut the tile. Although it’s easier to cut straight tile lines, the above method gives you a smooth curve as well.
2. Use Peel-and-Stick Tiles
Want a cheap option for renovating your bathroom without moving the toilet? Peel-and-stick tiles may be the solution for you.
They’re a cost-effective, attractive way to revamp your room. And like ceramic tiles, they come in many shapes, sizes, and patterns.
These self-adhesive vinyl tiles may be suitable for you if you’re seeking the following benefits:
- Easier to cut and place around your toilet.
- Simple to install and replace.
- Cheaper than other materials (such as ceramic, porcelain, and marble).
- Easy to look after and low maintenance.
- Very durable.
- Attractive designs.
The process of cutting vinyl tiles to fit around your toilet is quite simple:
- Measure your toilet’s dimensions as above. Cut strips into your paper and place the sheet up against the surface. Bend the strips down. Place the piece onto the vinyl and draw the transfer line where the fringes are bent.
- Carefully use a utility knife to score the vinyl. You might need to do it a few times. Remember to wear gloves.
- Bend the vinyl until the excess breaks off. The vinyl will come away quite quickly.
You can now fix the self-adhesive tiles in place.
Benefits of Removing the Toilet Before Tiling
Many sources recommend removing the toilet before tiling your bathroom. It can save you the time and hassle of measuring and cutting tiles and isn’t as difficult as it may seem. Laying down tiles underneath your loo can also make future renovations smoother.
Here are some excellent reasons to place tiles beneath your toilet (rather than tiling around it):
- It’ll be easier to repair and replace the toilet. If you need repairs done or want a new fixture in the future, it’ll be easier with the tiles underneath the toilet.
- It’ll make cleaning easier. With a loo sitting nicely on your tiles, there’s less chance of leakage and easier cleaning.
- The tiling may look better. You may end up with a nicer-looking result if you tile beneath the toilet instead of around it.
- It can be challenging to get the dimensions correct. Depending on your skill and experience level, removing the toilet before tiling could be easier.
- Most tilers recommend detaching the toilet before tiling. Most professional tilers will advise you to remove the toilet before tiling.
- Toilet flanges are best on top of the tiles. Most makers of toilet flanges and home renovation experts suggest that toilet flanges should sit on top of the tiled floor.
Key Takeaways
As discussed in this article, it’s completely possible to tile around your toilet quickly and easily. You can opt to cut your traditional tiles (ceramic, porcelain, etc.) to fit around the base of your loo, or you can go for self-adhesive, vinyl tiles.
You can have a beautiful-looking bathroom without having to remove the toilet while renovating.
Sources
- Home Stratosphere: The 13 Different Types of Bathroom Floor Tiles (Pros and Cons)
- HouseHow: Should You Tile Around or Under a Toilet?
- VictoriaPlum.com: Should I Fit the Toilet Before or After Tiling the Floor?
- YouTube: How to Tile Around a Toilet with Wickes
- MyBuilder.com: Can you tile around an already fitted toilet and sink?
Share this Post
Giovanni Valle is a licensed architect and LEED-accredited professional and is certified by the National Council of Architectural Registration Boards (NCARB). He is the author and managing editor of various digital publications, including BuilderSpace, Your Own Architect, and Interiors Place.