
Affiliate Disclaimer: Some of the links below are affiliate links. As an Amazon Associate, I earn from qualifying purchases.
Drywall has an outer paper layer that sticks tightly to the wallpaper on top of it if it’s not primed. So removing wallpaper from unprimed drywall can cause a lot of damage and leave a lot of sticky residues if you don’t do it properly. And the older the wallpaper is, the more important it is that you take it off the right way.
Here’s how to remove wallpaper from unprimed drywall in 9 steps:
- Prepare the room.
- Create tears in the wallpaper.
- Mix a cleaning solution.
- Spray, sponge, or wipe the cleaning solution onto the walls.
- Use a steamer.
- Peel the wallpaper.
- Clean the remaining adhesive from the wall.
- Allow the walls to dry.
- Repair any damages to the drywall.
Keep reading to learn more about the steps you need to follow to remove wallpaper from unprimed drywall. This article will discuss the right ways to remove wallpaper so that the process does minimal damage and allows you to set up the drywall for future wallpaper or paint.
1. Prepare the Room
Removing wallpaper can get messy, so make sure to move furniture out of the way and cover the floors with tarps. You’ll also want to cover electrical outlets, vents, and light switches with painter’s tape. Also, since the process of removing wallpaper gets wet, you should turn off electrical power to the room until you’re done just to be safe.
2. Create Tears in the Wallpaper
To start, you’ll want to create tears in the wallpaper by cutting circles with a plastic tool or scoring it lightly with a tool like the WP Chomp Wallpaper Scorer on Amazon.com. This helps to release the adhesive of the wallpaper without damaging the drywall underneath. Note that if you use sharper cutting tools like knives, you might do damage during this step.
Scoring or tearing is especially important to do if you have vinyl wallpaper, which repels water. A water-based cleaning solution needs to be able to soak through to the adhesive layer for the wallpaper to peel up from the wall.
3. Mix a Cleaning Solution
You can use one of many different formulas to loosen the wallpaper adhesive, as long as it’s gentle. Some are too harsh on the drywall and will cause damage.
One recommended solution includes hot water, dish soap, and a tablespoon of baking soda; however, if this doesn’t work or your drywall is very old, you may want to add white vinegar to the mix, about one cup per gallon of solution.
Another solution uses fabric softener and water at a ratio of ¼ cup (4 tablespoons) fabric softener for every ¾ cup (12 tablespoons) of water. Either way, make sure that the water is hot, as this is key.
Commercial wallpaper strippers are an option, but they’re more likely to damage the drywall than these homemade methods. If you’re not concerned about damage to the drywall, try the World’s Best WP Chomp World’s Best Wallpaper Stripper, which is available on Amazon. This stripper is incredibly effective at removing stuck-on wallpaper.
4. Spray, Sponge, or Wipe the Cleaning Solution Onto the Walls
You can use numerous methods to apply the solution, including a spray bottle, a sponge, or a microfiber cloth. One especially effective tool is the power sprayer, which uses pressure to wet the walls over a large section.
If you use a power sprayer, make sure to use a pair of protective goggles to cover your eyes first. This YunTuo Safety Glasses 2-Pack (available at Amazon) is an inexpensive way to avoid injury.
Coat the walls in sections, rather than spraying the entire wall at once, and then allow the formula 15 minutes to sink in.
You’ll know that the solution is working once you see bubbles forming under the wallpaper, a sign that the adhesive is loosening. Expect pieces of the wallpaper to fall off and onto the floor at this point.
5. Use a Steamer
If you’re concerned about using a cleaning solution on your walls, you also can use a steamer to loosen the adhesive. A steamer is a better option if you have very old drywall that’s prone to damage.
To use a steamer, fill it with water, plug it in, and give it time to warm up. Then apply steam to the scored or torn wallpaper, hovering over the paper for 1-2 minutes before scraping it off in sections.
You can use a large or a small steamer plate depending on the wall section you’re working with. Try purchasing a wallpaper steamer that comes with both a small and a large plate so that you can use one device for everything, like the Wagner Spraytech Wallpaper Steamer (available at Amazon).
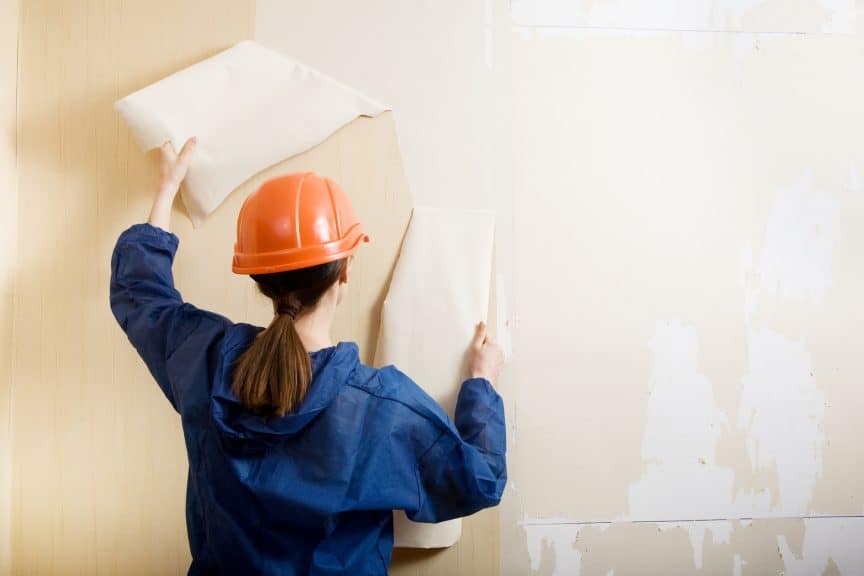
6. Peel the Wallpaper
There are many different kinds of wallpaper, most with two layers. The outer layer is typically made from textile, vinyl, bamboo, or paper, and the inner layer is made from paper or something similar. You’ll need to remove both.
Find a corner of the wallpaper where it’s easiest to pull it apart from the wall and start peeling. Ideally, the wallpaper will now come off smoothly and cleanly. But if it doesn’t, continue being gentle, and don’t force the wallpaper off too hard. Forcing can cause tears in the drywall.
Sometimes the wallpaper will come off the wall in sheets, but other times you’ll need to pull small areas of the wall at a time. Don’t leave the backing on even if it appears to be in good condition. Your new wallpaper will hold best if you start from scratch.
7. Clean the Remaining Adhesive From the Wall
You can clean the remaining adhesive from the wall by scraping it gently with a plastic putty knife and wiping it off with a wet rag. If the glue is stubborn and won’t come off, then try reapplying the cleaning solution and allowing it to soak again before continuing to scrape and wipe off the adhesive.
8. Allow the Walls To Dry
Once you’ve removed the wallpaper and the adhesive from the walls, it’s time to finish wiping them clean and allow them to air dry for about 24 hours at a minimum. At this point, the wall should feel smooth. If it doesn’t, go back to the previous steps and try loosening, scraping, and wiping the adhesive off again.
9. Repair Any Damages to the Drywall
Even if you do everything as advised, you might find yourself in the position of having damaged drywall that needs repairs before you can add a coat of paint. You can address small imperfections by sanding the area, or you can use a paint roller and a primer to cover damages.
If you add a primer to damaged spots, you’ll need to add two layers, allowing the first to dry before adding the second. Then, sand the spot to make sure that it is even.
At this point, the wall is now ready for a brand new wallpaper or a fresh coat of paint. Just make sure that you add a coat of primer to the whole wall before doing either because otherwise, you’ll have a difficult time keeping the drywall nice the next time you want to make a change.
Final Thoughts
Removing wallpaper from unprimed drywall can be a challenge, so be patient as you follow these steps to gently remove it. Remember that you can always go through the process more than once if it doesn’t work on your first try. And, if you decide to apply new wallpaper, make sure that you prime the walls first to make future removal easier.
Sources
- Planted Shack: How to Remove Wallpaper From Unprimed Drywall?
- Homesteady: Removing Wallpaper from Unprimed Sheetrock
- Architectural Digest: How To Remove Wallpaper Glue in 5 Simple Steps
- HGTV: How to Remove Wallpaper in a Few Simple Steps
- Wagner: How to Remove Wallpaper in 6 Easy Steps Using a Steamer
Share this Post
Giovanni Valle is a licensed architect and LEED-accredited professional and is certified by the National Council of Architectural Registration Boards (NCARB). He is the author and managing editor of various digital publications, including BuilderSpace, Your Own Architect, and Interiors Place.