
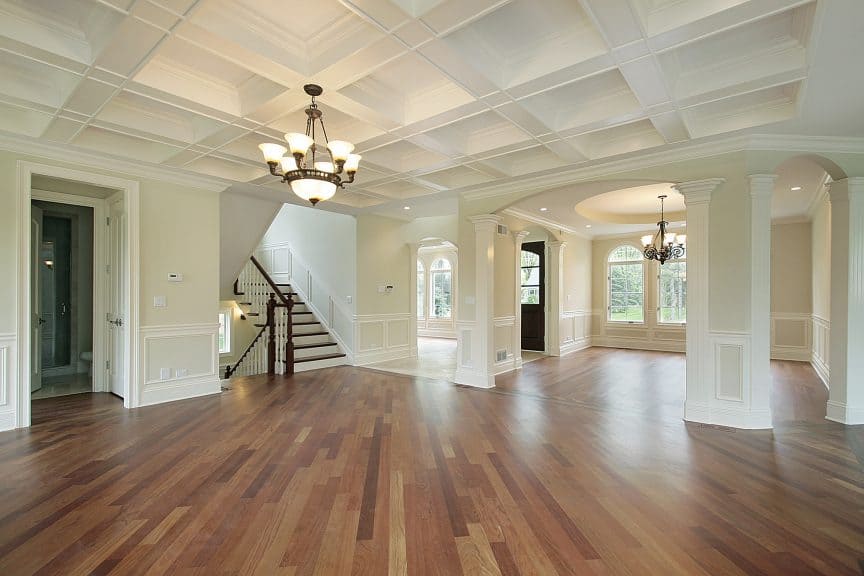
Though there’s no denying how beautiful hardwood floors can be, unfortunately, they can also be sensitive to heat and moisture. When not properly cared for, excessive temperature fluctuations and moisture exposure may lead to warping in some areas. The good news is it is possible to fix the issue and reverse the damage when addressed quickly.
To dry out cupped hardwood floors, start by vacuuming up visible water and running industrial fans in the room. Once the area has begun to dry, bring in a dehumidifier to remove any excess moisture stuck in the wood’s pores. Finally, use a moisture meter to check the area is completely dry.
In this article, we will discuss what cupping is and how it can happen in your home. We will then explore how to properly dry your floors before potentially sanding and refinishing.
What is Cupping on Hardwood Floors?
Cupping is an unfortunate problem for hardwood floors, causing them to cup along the edges. As the edges curl up, the middle of the board will have a concave surface, bowing inward rather than sitting flat. As the wood boards’ sides now sit higher than the center, the floor will become a tripping hazard.
Cupping will occur when the underside of the hardwood becomes exposed to moisture. Cupping is usually a sign of a water leak from pipes or even appliances, such as a refrigerator. Where the finish will protect the top of the wood, moisture will seep into the unprotected parts that you cannot see.
Another more common reason hardwood floors will begin to cup is that they were installed during warmer months before the air conditioning was put in place. When building a house or renovating, the floor should be the last thing to be put in. However, many contractors will install the floors first because it is easier to do so before any fixtures or trim have been placed.
Unfortunately, in doing so, the floors will often be in place before the heat and air conditions systems have been set. When these systems are installed, they will typically be run to ensure that they are in working order. This will create significant temperature changes, which need to be taken into account before installing hardwood.
How to Dry Cupping on Hardwood Floors
The first step in fixing your hardwood floors is to dry them out thoroughly. Once completely dry, you should be able to sand and refinish the affected area. You may need to remove and replace some parts of the floor that are too damaged to repair in more severe cases.
Start by identifying the source of moisture and fix any leaks in pipes or appliances. This could be from burst drainage pipes, fridge leaks, or a dishwasher overflow. If you are unsure of where the moisture is coming from, is it recommended to hire a professional to locate the cause and fix the problem before it gets out of hand.
Before you begin the drying process, always remove any furniture or rugs from the room. These may be holding moisture and can prevent the drying process from being successful. Ensure these are completely dry before returning them to the room.
Dehumidifier
As mentioned above, cupping can occur when the hardwood is exposed to hot, humid temperatures in the summer and then cooler winter temperatures. This will cause the wood to expand and contract, allowing moisture to enter the cracks between boards.
A dehumidifier is an excellent way to control your home’s humidity levels. If the moisture damage is minor and the cupping is minimal, a dehumidifier may be enough to fix the problem. While it is working to remove the air’s moisture, keep the doors and windows of the affected room closed, and run the air conditioning if possible to prevent excess humidity from entering in warmer months.
As the wood is expanding during the summer, moisture can seep into the wood grain, which will settle and not come out easily. However, with a dehumidifier, that moisture should dry up if left to run for long enough. For larger areas, rent an industrial-sized dehumidifier and leave it running for at least 24 hours.
Fans
Industrial fans can also be rented from hardware stores or specialists. These fans are very powerful and will aid in the drying process, particularly when used in tandem with a dehumidifier. However, such fans are an excellent way of drying out a room with extensive water damage and should be used alone initially to remove as much moisture from the room as possible.
Set the fans up and run on full blast with a window open to allow for proper airflow. Once the area has dried enough, bring in the dehumidifier and run them simultaneously to ensure the hardwood is as dry as possible.
Wet/Dry Vacuum
If the moisture in your hardwood has come from a leak or accident, such as a turned-over mop bucket or dishwasher overflow, the best way to ensure the wood is as dry as possible is with a wet/dry vacuum. This specialized vacuum is designed for sucking up standing water.
Go over the area thoroughly, wiping dry with a cloth once you have removed the visible water. Once the surface area appears dry, continue to vacuum, moving slowly over the boards to remove moisture within the wood’s pores, which will continue to cause damage down the line.
Meter-Test for Moisture
A moisture meter is an instrument used to detect the moisture content in building materials. When you believe you have a leak, you can use such a device to check your floors’ moisture content, potentially locating the affected area.
After drying the floors with fans and dehumidifiers, use the moisture meter to check that there are no moisture spots left within the wood’s pores. If the meter reads positive, leave the fans and dehumidifier running for at least another day.
Sanding and Refinishing Hardwood Floors
In some cases, the damage to your hardwood is too severe to fix by drying the floors alone. If you still see cupping along the edges of some boards after the floors have been thoroughly dried, you will likely need to sand and refinish the area.
Sanding should be done by a professional or with an industrial floor sander. This machine will slowly move over the hardwood, bringing it back to normal. Once flat, be sure to refinish with sealant and stain.
How to Prevent Cupping on Hardwood Floors
When installing hardwood floors, the best practice is to have the heating and cooling systems in place and running for a couple of weeks. That way, the house will have a chance to adjust and acclimatize, preventing the hardwood from soaking up any excess moisture. With this method, you can promptly address any leaks, ensuring the home and the subfloor are completely dry before laying the hardwood.
Cupping is especially common in areas with high humidity through the summer months. During such times, try to run the air conditioning to keep your home cool and ensure that any Heat Recovery Ventilators are switched off. This will stop the unit from drawing in damp air from outside.
Lastly, always clean up any spills on hardwood immediately, and never wash with a mop. The excessive amount of water held in mops will seep into the space between the boards and begin to pool underneath the hardwood. Over time, this will soak into the wood, causing it to cup at the edges.
Test for Moisture Before Installing Hardwood Floors
Though most moisture issues are thought to come from broken pipes or leaks, it is not uncommon to see moisture affecting your flooring from the subfloor. Flooring is made up of several layers, including:
- Joists are the foundation that supports everything to come. Unless the floor is concrete, it will have joists made from laminate wood or timber beams.
- The subfloor is the next layer, acting as a stable surface onto which the underlay and top layer will sit. This layer makes it easier for the floor to be installed and more comfortable to walk on.
- The underlay is directly beneath the surface and provides insulation and support. For carpet, an underlay may be thick to provide extra padding and also helps to prevent moisture from affecting the top layer.
- The surface is what you see as the finished result. This could be hardwood, laminate, or carpeting and is purely aesthetic, providing no structural support.
If any of the layers under the surface have a high moisture level when installing the top surface, you may find that it creates water damage. Though it will take some time, the moisture will seep up to the surface, causing your hardwood to buckle or cup.
Furthermore, if you leave the subfloor or joists with high levels of moisture, they may begin to degrade over time. This can cause weakness and rot, leading to a collapse in the floor. Before installing the next layer, always ensure that the floor is completely dry.
Final Thoughts
Hardwood flooring may look nice, but it is important to remember that it needs more care than tile or carpet. Though a spill on the floor may not seem significant, it may quickly seep into the pores and cause cupping and warping within the wood.
If you notice cupping in your hardwood, start by locating the source of the moisture and fixing any issues, such as cracked pipes. Once the underlying problem is fixed, dry the area entirely, using industrial-grade tools, and sand down any residual raised areas.
Sources
- Build Direct: What is Peaking, Buckling, and Cupping in Wood Floors
- EcoHome: The Difference Between HRV and ERV
- Gaylord Hardwood Flooring: Prevent Cupping in Hardwood Flooring
- Grainger: Type of Moisture Meter
Share this Post
Giovanni Valle is a licensed architect and LEED-accredited professional and is certified by the National Council of Architectural Registration Boards (NCARB). He is the author and managing editor of various digital publications, including BuilderSpace, Your Own Architect, and Interiors Place.