
Affiliate Disclaimer: Some of the links below are affiliate links. As an Amazon Associate, I earn from qualifying purchases.
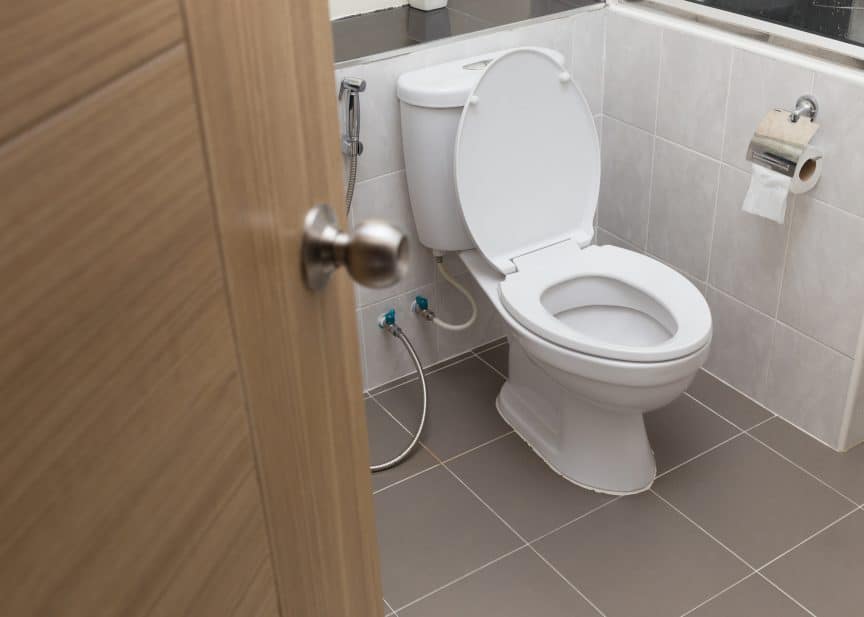
Chances are if you are asking yourself this question you may have been told by your builder or designer that the toilet needs to be placed against the outside wall. While there are good reasons to do so, it is not always necessary. In fact, many bathroom layouts have the toilet set against an internal wall.
Generally, you can install a toilet on an internal wall as long as there is enough room underneath the floor to run the waste line to the mainline. Because the waste line needs to slope, the required height under the floor is a factor of the slope (1:40) and the distance to the wall. If there is enough room, the only other requirement is that you have a wall with the proper structural studs in it and cavity space for the piping.
This particular task has a simple solution and only requires you to give it the appropriate amount of attention and care to get the job done right the first time around. In this article, we will go over a bit more on the wall studded method, another common method for installing toilets if your wall is not parallel studded and share the necessary tools for the job. Let’s get started.
Common In-Home Toilet Installation Setup
As mentioned earlier, the wall that the toilet goes against can be an interior wall. The wall just requires the appropriate structural studs put in place and to have an open cavity space that is large enough for the toilet piping system to flow through the open wall area, throughout the rest of the home plumbing system.
While there are a variety of methods you can use to accomplish these two conditions for toilet installation, there are some methods that are more efficient than others. The most common way of installing toilets is also the most efficient method: two toilets at a time back-to-back.
Installing two toilets back-to-back, with two parallel studded walls in between the two toilets that are spaced apart with a large enough area that leaves the appropriate amount of space for the toilet piping system. Installing two toilets in this way with two of them back-to-back is the recommended method for two reasons in particular.
The biggest reason for installing your toilets in this way is that it efficiently utilizes your space. The second reason is that this method is more cost-efficient.
When you are doing the two toilets back-to-back method, this saves you the cost of having to cut floor space to install a whole section of new toilet piping in another area in your home. Most homes are already designed with two toilets back to the back method in mind. So, the toilet fixtures are likely already set for you to use. So, you can just plug and play.
More than likely, you have this parallel studded wall set up in the home somewhere already and only have to worry about installing the toilets now.
If You Do Not Have the Ideal Circumstances
So maybe you find that you do not have the parallel studded walls in the floorplan of your home, and you do not see a way to do the two toilets back-to-back method. Or maybe you look at that method and simply do not want to go that route for your home.
Maybe you want to get more creative, or perhaps you just decided you want a toilet somewhere else in your house. Whatever the reason for not wanting to go the route of the back-to-back toilet setup, here is another method you can implement in place of the recommended approach that will also accomplish the job as well.
While the back-to-back toilets, with parallel studded walls, is an optimal solution for space and cost efficiency, you may not be able to use this method if your house doesn’t already have the stud set up. When that is the case, then you are going to be required to put in a little extra work.
Regardless of where you have the toilets installed in your home, you must have the wall behind it appropriately studded, and you must have the open cavity space for the piping. So, if you do not have back-to-back studded walls in place for the two-toilet setup, what you can do instead is use a six-inch studded wall that you dedicate to each toilet you install.
So if you have more than one toilet to install, you will want to choose another six-inch studded wall in the home. If you’re going to do a custom toilet installation somewhere else in the house, you will have to install the proper six-inch studs in the wall for whatever room you decide to put the toilet in.
Additional Note: Tools You May Need to Install Your Toilet
Any time you have an in-home project you want to do yourself, you may want to set aside the time first to make sure you have all the tools necessary even to do the job you wish to complete. For that, all you know you have to purchase a rental or ask a friend to borrow something you did not even know you needed. Below we lay out the tools you do need.
Followed by some tools, that while recommended, you do not need to have to complete the job. Those recommended tools are just a nice bonus to have, as well. In any case, when it comes to the recommended tool list, there are tools you should already have around the house that you can repurpose as a means to accomplish the purpose of a recommended tool.
By doing things this way, you can save yourself the extra trip by having to go out of your way to buy the tool designed for that purpose. Without further ado, here are a few of the required tools.
Required Tools for Toilet Installation
4-in-1 Screwdriver
You can get away with just having a Philips and a Flathead screwdriver instead of having a 4-in-1 Screwdriver, but having one screwdriver over time may prove to be an excellent tool to have to save you some headaches. But if you do not want to bother with this tool. Philips and Flathead together should be just enough for you to get the job done.
It goes without saying, but I’m going to say it anyway. You also need to purchase Caulk!
A Cordless Drill will be better for you to move in and out, but if you happen to have an outlet near your toilet installation or extension cables, then any plugin hand drill will do as well. Just a pro tip from personal experience. Go with a mechanical drill rather than electrical. While they may not be as modern, they have a ton of power to do the job.
Recommended Tools for Toilet Installation
If you don’t have a shop vacuum, then you can substitute a home vacuum. But you will want to be sure that you are taking the time to sweep up what cannot be sucked up into a home vacuum.
While a utility knife will be the best option for this particular job, you can easily substitute this with a razor blade, a box cutter, a pocketknife, or any home knife that is compact, non-serrated and sharp enough to cut.
Final Thoughts
And there we have it! That may have felt like a lot of information to digest, but now you have all of the ready-to-go information that you will need to outfit your home with a new toilet system. Regardless of whether or not your home has the parallel wall set up that you would want for space efficiency, you know how to install the toilets as you see fit.
You can put them in whatever room you want for your dream home, and the possibilities are truly endless. By following the points we laid out in this guide, you will be able to mold the home of your dreams in no time.
Share this Post
Giovanni Valle is a licensed architect and LEED-accredited professional and is certified by the National Council of Architectural Registration Boards (NCARB). He is the author and managing editor of various digital publications, including BuilderSpace, Your Own Architect, and Interiors Place.